The Sapphire Dragon Claw is one of Skyrim‘s many puzzle keys, but unlike some of the more obvious collectibles scattered across Tamriel, this particular claw requires players to venture into the depths of Shroud Hearth Barrow. Whether you’re hunting down every dragon claw in the game, completing side quests in Riften’s surrounding areas, or just trying to unlock that stubborn door deep in the dungeon, the Sapphire Claw is a must-have item. It’s not the rarest or most powerful claw in the game, but it unlocks access to valuable loot, a Word of Power, and completes a quest that many players stumble into without realizing its full scope. This guide covers everything from acquiring the claw to solving its puzzle and deciding whether it’s worth keeping in your inventory afterward.
Table of Contents
ToggleKey Takeaways
- The Sapphire Claw is a unique puzzle key found on a Draugr in Shroud Hearth Barrow, essential for unlocking access to a Word Wall and boss-level loot at the end of the dungeon.
- The Sapphire Dragon Claw puzzle requires rotating three rings to match the combination (Moth, Owl, Wolf from top to bottom) before inserting the claw into the central keyhole.
- Completing Shroud Hearth Barrow grants you one word of Kyne’s Peace shout, which makes nearby animals non-hostile—useful for pacifist builds and avoiding unnecessary wildlife encounters.
- After using the Sapphire Claw, you can keep it as a collectible for your player home or sell it for 50 gold; it serves no further gameplay purpose either way.
- Wilhelm, the innkeeper at Vilemyr Inn in Ivarstead, starts the quest and rewards 300 gold upon completion, making this a straightforward but rewarding side dungeon for all playstyles.
What Is the Sapphire Dragon Claw in Skyrim?
The Sapphire Dragon Claw is a unique item tied to the Shroud Hearth Barrow dungeon located southeast of Ivarstead. Unlike golden or iron claws that you might encounter early in the main questline, the sapphire claw skyrim variant is associated with a specific side quest and dungeon puzzle.
Each dragon claw in Skyrim serves as both a key and a puzzle solution. The claw itself features three rotating rings on its palm, each displaying a different animal symbol. These symbols correspond to the combination needed to unlock a specific door deeper in the dungeon. The Sapphire Claw is no exception, it’s required to open the puzzle door at the end of Shroud Hearth Barrow, which guards a Word Wall and additional loot.
Visually, the Sapphire Claw is distinguished by its blue-tinted appearance, matching the gemstone it’s named after. It weighs 0.5 units and has a base value of 50 gold, making it relatively lightweight and not particularly valuable from a strict selling perspective. But, its true value lies in its function as a dungeon key.
The claw is classified as a miscellaneous item in your inventory, and like other dragon claws, it doesn’t provide any combat benefits or magical properties. Its sole purpose is to unlock the puzzle door within Shroud Hearth Barrow, though some players choose to keep it as a collectible after completing the dungeon.
Why You Need the Sapphire Claw
The Sapphire Dragon Claw isn’t optional if you want to fully clear Shroud Hearth Barrow. Without it, you’ll hit a hard stop at the puzzle door near the end of the dungeon, unable to access the Word Wall or the treasure chamber beyond.
Here’s what the claw unlocks:
- Word of Power: The Word Wall at the end of Shroud Hearth Barrow teaches you a word of the Kyne’s Peace shout. This shout causes nearby animals to become non-hostile, which can be situationally useful for avoiding combat with wildlife or dealing with bears and mammoths without bloodshed.
- Quest Completion: The claw is directly tied to the quest “Shroud Hearth Barrow,” given by Wilhelm, the innkeeper in Ivarstead. Retrieving the claw and clearing the barrow completes this quest and earns you a modest gold reward.
- Loot Access: Beyond the puzzle door, you’ll find a boss-level chest containing leveled loot, typically gold, gems, enchanted weapons, or armor depending on your character level.
From a completionist perspective, the Sapphire Claw is essential for checking off this particular dungeon and quest. Players aiming to collect all Words of Power or complete every side quest in the game will need to grab this claw. Even casual players who stumble into Shroud Hearth Barrow will want the claw to fully explore the dungeon and avoid leaving loose ends.
Where to Find the Sapphire Dragon Claw
Traveling to Shroud Hearth Barrow
Shroud Hearth Barrow is located directly southeast of Ivarstead, a small village nestled at the base of the Throat of the World. If you’re fast-traveling, the closest discovered location is typically Ivarstead itself. From the village, head southeast and you’ll spot the barrow entrance within a few hundred meters, it’s marked by a stone archway and a pull chain to open the door.
The barrow is easy to miss if you’re not specifically looking for it, as it blends into the rocky terrain surrounding Ivarstead. But, once you’re in the general area, the entrance is clearly marked on your compass and map. The dungeon is accessible at any character level, though the enemies inside scale to your level, so low-level players should prepare for a fight.
Starting the Wilhelm Quest
While you can enter Shroud Hearth Barrow without speaking to anyone, the most common way players learn about the Sapphire Claw is through the quest “Shroud Hearth Barrow,” given by Wilhelm, the innkeeper at the Vilemyr Inn in Ivarstead.
Wilhelm mentions that the barrow is haunted and asks you to investigate. He’ll pay you to clear out whatever’s causing the disturbance. Accepting this quest doesn’t change the dungeon layout or the claw’s location, but it provides context and a small gold reward upon completion.
If you skip the quest and just explore the barrow on your own, you’ll still find the claw and can complete the dungeon without issue. But, returning to Wilhelm afterward with proof that the “ghost” was just a hoax (spoiler: it’s a mage using illusion spells) will net you 300 gold and close out the quest properly.
Step-by-Step Walkthrough: Retrieving the Sapphire Claw
Navigating Shroud Hearth Barrow
Once inside Shroud Hearth Barrow, you’ll descend into a typical Nord ruin filled with Draugr, traps, and environmental puzzles. The layout is fairly linear, so getting lost is unlikely, but there are a few branching paths with minor loot.
From the entrance, follow the main corridor downward. You’ll pass through a few rooms with Draugr enemies, these are standard undead foes that scale to your level. Early on, you’ll encounter a hallway with a pressure plate trap that triggers a swinging blade. Either sprint through or carefully step around the plate.
Continue deeper into the barrow, clearing Draugr as you go. You’ll eventually reach a larger chamber with a central pillar and multiple Draugr spawn points. This is where the dungeon opens up a bit, with side alcoves containing urns and minor loot. The path forward is through the doorway on the far side of the chamber.
Defeating Enemies and Avoiding Traps
Shroud Hearth Barrow isn’t particularly trap-heavy compared to some other dungeons, but there are a few hazards to watch for:
- Pressure plates: These trigger dart traps or blade traps. Look for slightly raised stone tiles on the floor and step around them.
- Oil slick traps: In one section, you’ll find oil on the floor with a tripwire. Triggering the wire ignites the oil, dealing fire damage. Either disarm the tripwire or avoid the oil entirely.
- Draugr ambushes: Some Draugr are hidden in alcoves or coffins and will pop out as you pass. Keep your weapon ready and don’t assume a room is clear until you’ve checked every corner.
The enemies themselves are standard Draugr, with a mix of melee and ranged variants. If you’re playing a stealth build, you can sneak past many of them, though the confined corridors make it challenging. Magic users and ranged attackers have an advantage here, as the narrow hallways funnel enemies toward you.
Finding the Claw on the Draugr
The Sapphire Dragon Claw is carried by a specific Draugr near the end of the dungeon. This Draugr is typically in a larger chamber just before the puzzle door. It’s not a boss-level enemy, but it’s often a higher-tier Draugr (Restless or Scourge, depending on your level) compared to the basic ones you’ve fought so far.
Kill this Draugr and loot its corpse. The Sapphire Claw will be in its inventory along with some gold and possibly a weapon or armor piece. The claw is unmissable, it’s marked as a quest item if you’ve started Wilhelm’s quest, and it’s the only dragon claw in this dungeon.
Once you have the claw, examine it in your inventory. Rotating the item in the 3D viewer reveals the combination etched into the palm: Moth, Owl, Wolf (top to bottom). This is the code you’ll need for the puzzle door ahead.
How to Solve the Sapphire Claw Puzzle
Understanding the Claw Combination
Every dragon claw puzzle in Skyrim works the same way. The door features three rotating rings, each displaying a series of animal symbols. The correct combination is always shown on the palm of the claw itself, which you can view by inspecting the item in your inventory.
For the Sapphire Claw, the combination is Moth (top ring), Owl (middle ring), Wolf (bottom ring). This is consistent across all playthroughs, the combination never changes, so if you’ve looked it up or remember it from a previous run, you can skip examining the claw entirely.
The symbols are clearly visible on the door’s rings. Each ring rotates independently, and clicking on a ring cycles through the available symbols. There’s no penalty for getting the combination wrong, so if you’re experimenting, you can try different configurations until the door unlocks.
Entering the Correct Door Code
Approach the puzzle door at the end of Shroud Hearth Barrow. You’ll see three concentric rings with animal symbols carved into the stone. Interact with each ring and rotate them until the correct symbols align:
- Top ring: Set to Moth.
- Middle ring: Set to Owl.
- Bottom ring: Set to Wolf.
Once all three rings display the correct symbols, insert the Sapphire Dragon Claw into the central keyhole. The door will rumble and slide open, granting access to the final chamber.
If the door doesn’t open, double-check that each ring is set correctly. It’s easy to accidentally rotate a ring one click too far, especially on console where the analog stick can be finicky. PC players using mouse and keyboard typically have an easier time with precise ring adjustments, and many veteran players have noted that the modding community on platforms offers UI improvements that make puzzle-solving smoother.
The claw remains in your inventory after use, so you can keep it or sell it later.
What Lies Beyond: Rewards and Loot
The Word Wall and Shout Power
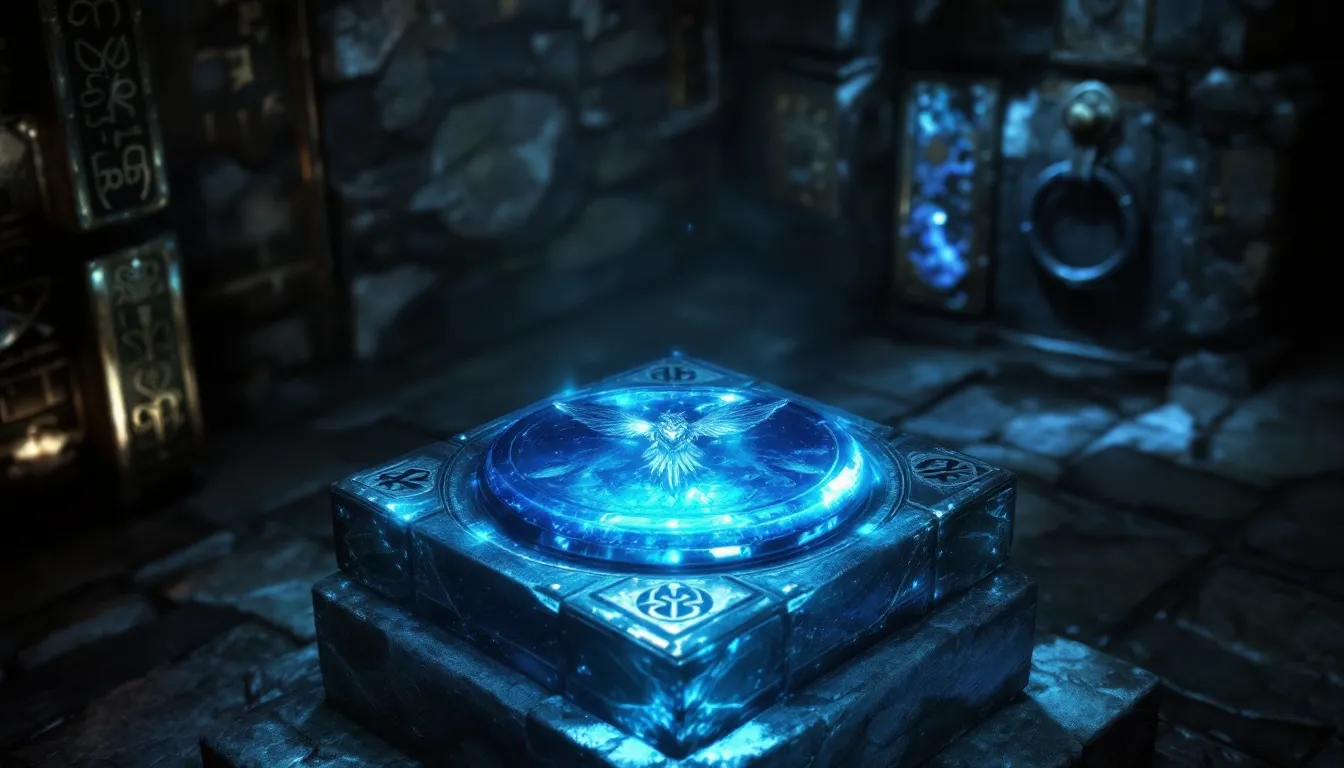
Beyond the puzzle door, you’ll find a large chamber dominated by a Word Wall. Approaching the wall triggers the dragon language chant and grants you a word of the Kyne’s Peace shout.
Kyne’s Peace is a niche shout that causes nearby animals to flee or become non-hostile for a duration. It affects creatures like wolves, bears, mudcrabs, and mammoths, but it doesn’t work on Draugr, bandits, or other humanoid enemies. The shout has three words of power, and this Word Wall provides one of them. The other two words are found at different locations across Skyrim.
While Kyne’s Peace isn’t as universally useful as Unrelenting Force or Whirlwind Sprint, it can be handy for avoiding unnecessary fights with wildlife, especially at lower levels when bears and sabre cats pose a real threat. It’s also useful for pacifist or roleplay-focused builds.
Additional Treasure and Items
The chamber also contains a boss-level chest, which holds leveled loot based on your character level. Typical rewards include:
- Gold: Usually 50-150 gold, depending on level.
- Gems: Amethysts, emeralds, or diamonds.
- Enchanted weapons or armor: The tier and enchantment scale with your level. Low-level players might find a basic enchanted iron sword, while high-level players could get a glass or ebony piece.
- Potions or scrolls: Often health or magicka potions, plus a scroll or two.
There are also several urns and burial containers scattered around the chamber, containing minor loot like gold, soul gems, or ingredients. It’s worth looting everything before you leave, as the combined value can be a few hundred gold.
Once you’ve grabbed the loot and absorbed the Word of Power, you can exit through the nearby passageway, which leads to a shortcut back to the entrance. This is a common design in Skyrim dungeons, after clearing the final chamber, you unlock a one-way door that loops you back to the beginning, saving you the trouble of backtracking through cleared rooms.
Common Mistakes and Troubleshooting Tips
Even though Shroud Hearth Barrow is a relatively straightforward dungeon, players occasionally run into issues. Here are the most common mistakes and how to fix them:
Entering the wrong combination: If the door won’t open, re-examine the Sapphire Claw in your inventory. The combination is Moth-Owl-Wolf from top to bottom. It’s easy to misread the symbols or rotate a ring one click too far. Double-check each ring before inserting the claw.
Claw not appearing on the Draugr: This is rare, but if the Draugr carrying the claw doesn’t spawn, it’s likely a bug. Reloading a save from before entering the barrow usually fixes it. If you’re on PC, console commands can spawn the claw directly, though that’s obviously a last resort.
Getting lost in the barrow: Shroud Hearth Barrow is linear, but the side rooms and alcoves can be disorienting. Stick to the main path, the quest marker (if you have Wilhelm’s quest active) will guide you to the claw and then to the puzzle door. If you’re exploring for loot, just remember that the exit shortcut unlocks after the final chamber, so you won’t need to backtrack.
Low-level struggles: If you’re tackling Shroud Hearth Barrow at level 5 or below, the Draugr can be tough. Stock up on healing potions and consider using followers like Lydia or the mercenaries in Riften to help tank damage. Stealth builds can sneak past many enemies, though the final Draugr carrying the claw will need to be dealt with.
Shout not unlocking: Absorbing the Word of Power from the Word Wall requires you to be close enough to trigger the chant. If nothing happens when you approach, try walking directly up to the wall and waiting a few seconds. If you’ve already learned that word from a different location, the wall will display the word in glowing runes but won’t grant it again, that’s normal.
Some players have also reported issues with quest markers not updating after retrieving the claw. If Wilhelm’s quest doesn’t complete, try returning to him and exhausting all dialogue options. If that doesn’t work, dropping and picking up the claw sometimes resets the quest flag.
Should You Keep or Sell the Sapphire Claw?
After using the Sapphire Dragon Claw to open the puzzle door, it serves no further gameplay purpose. You can’t use it to unlock anything else, and it doesn’t provide any buffs or bonuses. So the question becomes: keep it as a collectible or sell it for the 50 gold?
For completionists and players who enjoy decorating their homes, keeping the claw is worthwhile. Dragon claws can be displayed on weapon racks or placed on shelves in player homes like Breezehome, Lakeview Manor, or Proudspire Manor. Collecting all ten unique dragon claws in the game is a common completionist goal, and the Sapphire Claw is one of them.
If you’re not interested in collecting or decorating, selling the claw is perfectly fine. At 50 gold, it’s not a huge windfall, but every bit helps, especially in the early game. General goods merchants or pawnbrokers like Belethor in Whiterun will buy it without issue.
There’s no wrong choice here, it’s purely a matter of personal preference. The claw won’t respawn or become unavailable if you sell it, so if you change your mind later, you can’t retrieve it. For that reason, many players default to keeping it unless they’re desperate for inventory space or gold.
One thing to note: if you’re playing with mods, some overhaul mods or player home mods include display cases specifically for dragon claws. In those cases, keeping the claw makes more sense. The vanilla game doesn’t have a dedicated claw display, so you’ll need to manually place them using the physics system, which can be finicky. Community resources like those found in extensive modding hubs often include display solutions that make showing off your collection easier.
Conclusion
The Sapphire Dragon Claw is a straightforward collectible tied to one of Skyrim’s many side dungeons. Whether you’re completing Wilhelm’s quest, hunting down every Word of Power, or just exploring the Rift, Shroud Hearth Barrow and its claw are worth the detour. The dungeon itself isn’t particularly challenging, and the rewards, while not game-changing, provide decent loot and a useful shout for specific builds.
Once you’ve solved the puzzle and cleared the barrow, the choice to keep or sell the claw is yours. For collectors, it’s a must-have. For pragmatists, it’s 50 gold waiting to happen. Either way, you’ve checked off another piece of Skyrim’s massive world, and that’s always satisfying.
If you’re working through other content in the region, exploring additional Skyrim quests and challenges can help you level up and discover more hidden gems across Tamriel. Shroud Hearth Barrow is just one of many locations waiting to be explored.